Cover-Up Tattoo Planning: Rules, Sizing, Preview
Cover-up tattoo planning numbers: size multipliers, value hierarchy, laser fade math, and how to simulate coverage before your consultation.
Most cover-up articles tell you the same three things: go bigger, go darker, trust your artist. All true — and all useless as planning inputs, because none of them tell you how much bigger, how darkness actually gets deployed on skin, or how to test a concept before you sit in a consultation chair. This tattoo cover-up guide treats cover-up planning as an engineering problem with real numbers, then shows how visual simulation lets you pressure-test a design before any needle is involved.
Regret is common enough to plan for: research firm McCrindle found roughly one in three tattooed Australians regret at least one piece, and one in seven have already researched removal. With about 30% of Americans tattooed according to the FDA, the cover-up market is not an edge case — it is a core tattoo service with its own physics.
The Size Multiplier: 1.5x Is the Floor, 3x Is Common
Ask five studios how much larger a cover-up must be and you get a range, not a slogan. AI for Tattoo’s cover-up framework puts the working minimum at 1.5–2x the original dimensions; UK studio Gravity Tattoo plans for 2–3x. The spread is not disagreement — it maps to how dark the original is.
A practical way to read that range:
- Faded, thin, grey-blue original → plan near 1.5x. The artist can blend around it.
- Medium saturation, intact linework → plan 2x. Density has to be built at the borders so nothing ghosts through.
- Solid black fill or saturated color → plan 2.5–3x, or the design conversation shifts to laser first.
The multiplier is not upselling. The extra area is where the actual concealment work happens: dark anchor zones sit directly over the old ink, while detail and negative space in the new territory pull the eye away. A 3-inch wrist name routinely becomes a 5–6 inch floral piece for exactly this reason — and placements without expansion room (fingers, wrists, ankles) are where cover-ups most often fail before they start.
Value Hierarchy: How Artists Actually Deploy Darkness
“Darker covers lighter” is the rule everyone quotes. What the guides skip is the working order — and that order is where muddy cover-ups are born.
Bulgarian tattoo artist Ivan Panayotov walks through it in his cover-up tutorial (summarized below with our editorial notes; watch the full process for context):
Key takeaways from his process (source video, Ivan Panayotov, ~99K subscribers):
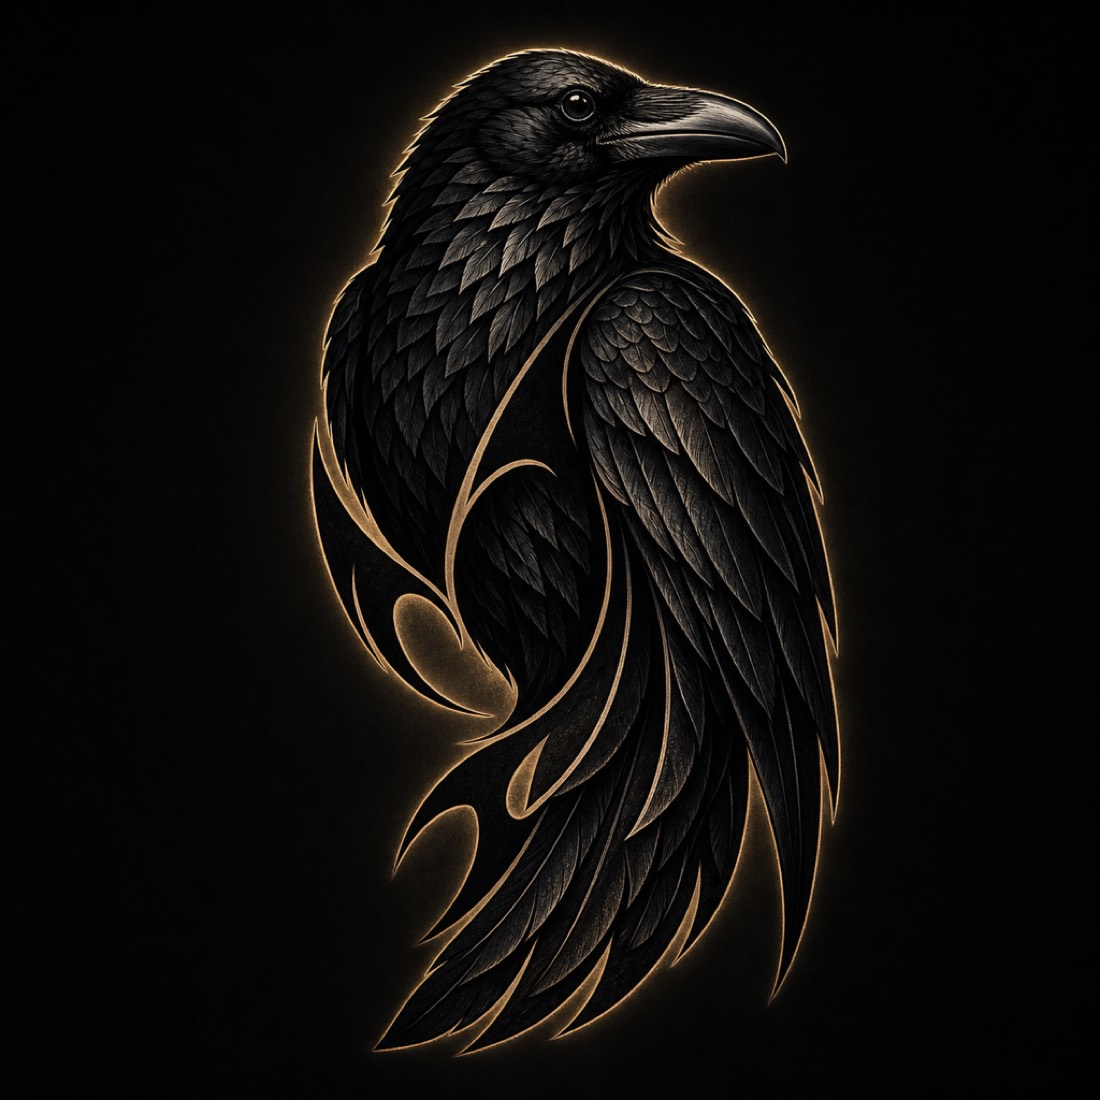
- Dark tones go down first, lighter tones overlay them — what he calls working the “shadow family.” Reversing the order makes it nearly impossible to judge how much black you are actually using, and black over a fresh light grey tends to turn the undertone dirty.
- Expand the value range deliberately: “lighten the lights and darken the darks.” A cover-up needs a wider contrast spread than a fresh tattoo, because the darkest values do double duty as concealment.
- Stencil placement is a planning act, not an application step. He anchors the focal point (a face, in his example) first, holds the stencil center while peeling, and checks alignment before committing — because on a cover-up, the stencil position determines which old lines land under which new shadows.
For your planning, the takeaway is simple: a design concept that has no large dark masses positioned over the old tattoo’s darkest zones is not a cover-up concept. It is a new tattoo waiting to ghost.
Three Paths Compared: Direct Cover, Fade-Then-Cover, Rework
Most guides discuss laser fading as a footnote. It deserves a real comparison, because the three paths produce different timelines, budgets, and design freedom.
| Factor | Direct cover-up | Laser fade, then cover | Rework / blast-over |
|---|---|---|---|
| Best for | Faded or light originals | Solid black, tribal, saturated color | Structurally decent tattoos needing refresh |
| Size growth | 1.5–3x original | Can stay closer to 1.5x | Often near original footprint |
| Palette freedom | Dark-dominant only | Lighter colors become viable | Depends on existing piece |
| Extra timeline | None | 3–6 laser sessions, spaced 6–8+ weeks apart | None |
| Old ink visibility | Engineered to hide, never erased | Reduced 50–80% before covering | Deliberately integrated |
The fade percentages come from cover-up-specialty sources: AI for Tattoo cites 50–80% lightening over 3–6 sessions as the gold-standard prep for dark originals, and Los Angeles Tattoo Shop notes that knocking a dark piece down 50–70% can move you from “solid blackwork only” to genuine color options like a watercolor peony. Neither path erases the old ink — the goal is a lighter canvas, not a blank one.
One more constraint that surprises people: a fresh tattoo cannot be covered at all until it fully heals — typically 6–8 weeks minimum — and several studios prefer the original to be at least a year old, since settled, slightly faded ink is easier to dominate.
Cover-Up Tattoo Simulation Before You Consult
Here is the gap in every guide above: they all end with “trust your artist’s judgment.” Good advice — but you can walk into that consultation with far better inputs by simulating the cover-up visually first.
A practical simulation workflow:
- Photograph the old tattoo flat-on, in natural light, with a ruler or card in frame for scale.
- Generate candidate designs at the correct multiplier. If your original is 3 inches and medium-dark, generate concepts sized for a 6-inch footprint — not the size you wish you needed. MyInk’s AI tattoo generator can produce style-consistent candidates in blackwork, neo-traditional, and other high-density styles that actually cover.
- Preview on your body. The try-on tool places a design on a photo of your own arm, shoulder, or leg, which answers the question no Pinterest board can: does a 2x-larger piece still work with your anatomy and wardrobe?
- Stress-test the dark zones. Overlay the candidate on your old tattoo photo. If the old piece’s darkest areas do not fall under the new design’s darkest areas, iterate before the consultation, not during it.
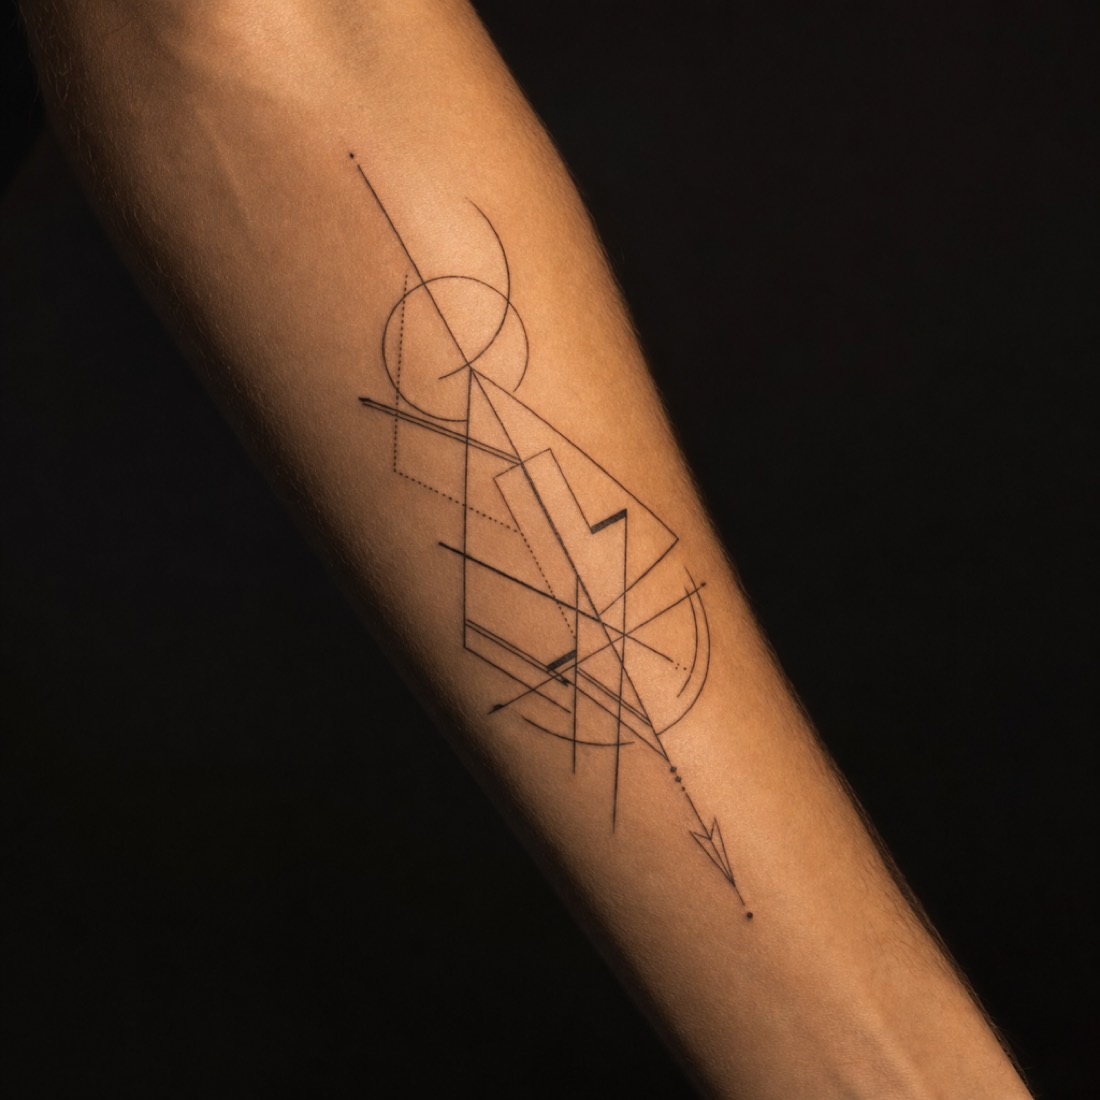
Simulation does not replace the artist — cover-ups remain one of the most technically demanding specialties in tattooing, and the final design must respond to your skin, scarring, and healed ink density in person. What simulation changes is the quality of the conversation: you arrive with 2–3 viable, correctly-sized concepts instead of a screenshot of a fine-line design that physically cannot cover anything.
Consultation Red Flags
An editorial checklist, distilled from the sources above and the failure patterns they document:
- “We can keep it the same size” on a medium-to-dark original — the number one predictor of ghosting within a few years.
- “A fine-line or watercolor cover will work” over solid black — light, sparse ink cannot dominate dense pigment underneath.
- No healed before/after photos in the portfolio. Fresh cover-up photos hide the ghosting that appears as ink settles.
- No mention of laser when your original is heavily saturated — a specialist should at least raise the fade-first option, even if you decline it.
- Old reds and oranges dismissed casually — these pigments can bleed back through unpredictably for years and require deliberate planning.
If you are still weighing removal against covering, our cover-up vs laser removal breakdown goes deeper on cost and timeline trade-offs, and the cover-up salvage guide covers what to do when a previous cover-up itself needs fixing.
FAQ
How much bigger does a cover-up tattoo need to be? Plan on 1.5–2x the original’s dimensions as a working minimum, and 2–3x for dark or saturated originals. The extra area is where concealment density and eye-redirecting detail live.
Do I need laser removal before a cover-up? Not always. Faded or light originals can often be covered directly. For solid black, tribal, or heavily saturated pieces, 3–6 fade sessions (reducing the ink 50–80%) dramatically widen your design and color options.
Can I preview what a cover-up will look like? Yes — photograph your existing tattoo, generate correctly-sized design candidates, and use an on-skin preview tool to test placement and scale on your own body before the consultation. It will not replace the artist’s final design, but it makes the consultation far more productive.
What styles cover old ink best? Blackwork, black-and-grey realism, neo-traditional, and dense botanical or ornamental work — styles that bring large dark masses and strong contrast. Fine-line, minimalist, and light watercolor styles generally cannot conceal existing pigment without laser prep.
Preview on skin
Try this on your skin
Upload a photo and see the design placed on your own body before anything is permanent.
Try it on · 1 credit →
Free advisor
Create your own design
Describe one idea and the advisor shapes it into 4 genuinely different directions.
Open the studio — free to start →
The advisor is free. A round of 4 directions costs 4 credits — Plans from $4.99 — 8 free credits to start